Baked garlic –Welcome to the world of culinary magic, where baking meets the aromatic allure of garlic! Today, we’re whipping up something special—Baked Garlic. This delightful dish is not just about the taste; it’s about transforming a humble bulb into a gloriously roasted masterpiece. So, let’s dive into the delicious chaos that is Baked Garlic!
Baked Garlic
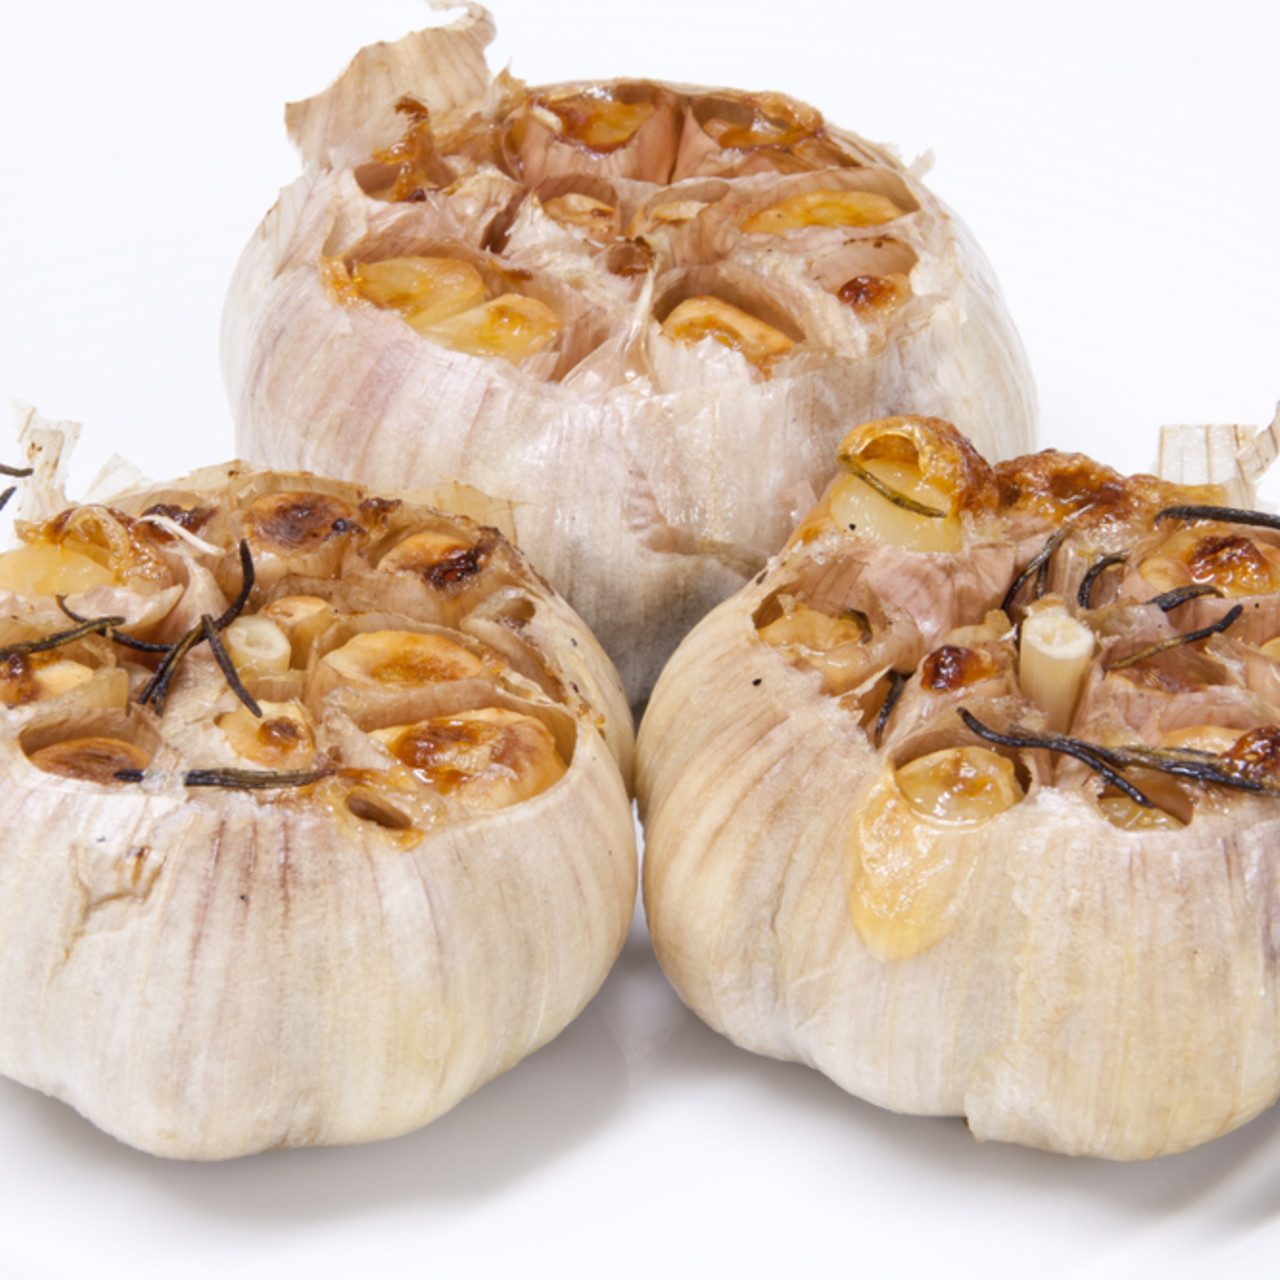
Picture this: a bulb of garlic, draped in a cozy blanket of olive oil and herbs, sliding into the oven like it’s off to a spa day. And trust me, when it comes out, you’re going to want to share it with the world—or maybe just keep it all to yourself!
Ingredients
Gather your culinary troops! Here’s what you’ll need:
- 1 whole bulb of garlic
- 2 tablespoons of olive oil
- Salt to taste
- Freshly ground black pepper to taste
- Optional: Fresh herbs such as rosemary or thyme
- Crusty bread for serving (because, obviously!)
Instructions
Let’s get this garlic party started! Follow along; it’s as easy as pie—well, easier than pie actually:
- Preheat your oven to 400°F (200°C). This is the perfect temperature for roasting and creating that irresistible aroma!
- While the oven is warming up, grab your bulb of garlic. Don’t be shy—give it a little squeeze. You’re looking for one that feels firm and happy, not squishy!
- Cut off the top of the bulb, just enough to expose the beautiful cloves inside. It’s like giving the garlic a fresh haircut! Place it on a square of aluminum foil.
- Drizzle the olive oil over the exposed cloves, letting them bask in the liquid goodness. Season with salt and pepper—think of it as dressing up your garlic for a night out!
- If you’re feeling fancy, add a sprinkle of your favorite fresh herbs. Garlic loves company!
- Wrap the garlic in the foil, creating a little garlic burrito, and pop it in the oven for about 30-35 minutes. Just enough time to dream about all the buttery goodness you’re about to devour.
- Once it’s golden and soft, remove it from the oven. Unwrap the foil carefully (watch out for that steam!) and let it cool for a moment. Trust me; it’ll be worth the wait!
- Now for the best part—squeeze the roasted cloves out of their papery jackets onto crusty bread, or use as a flavor bomb in any dish you like. Just remember: Sharing is caring… unless you want it all for yourself!
And there you have it! A bowlful of Baked Garlic, ready to spread love (and deliciousness) one clove at a time. Happy eating!