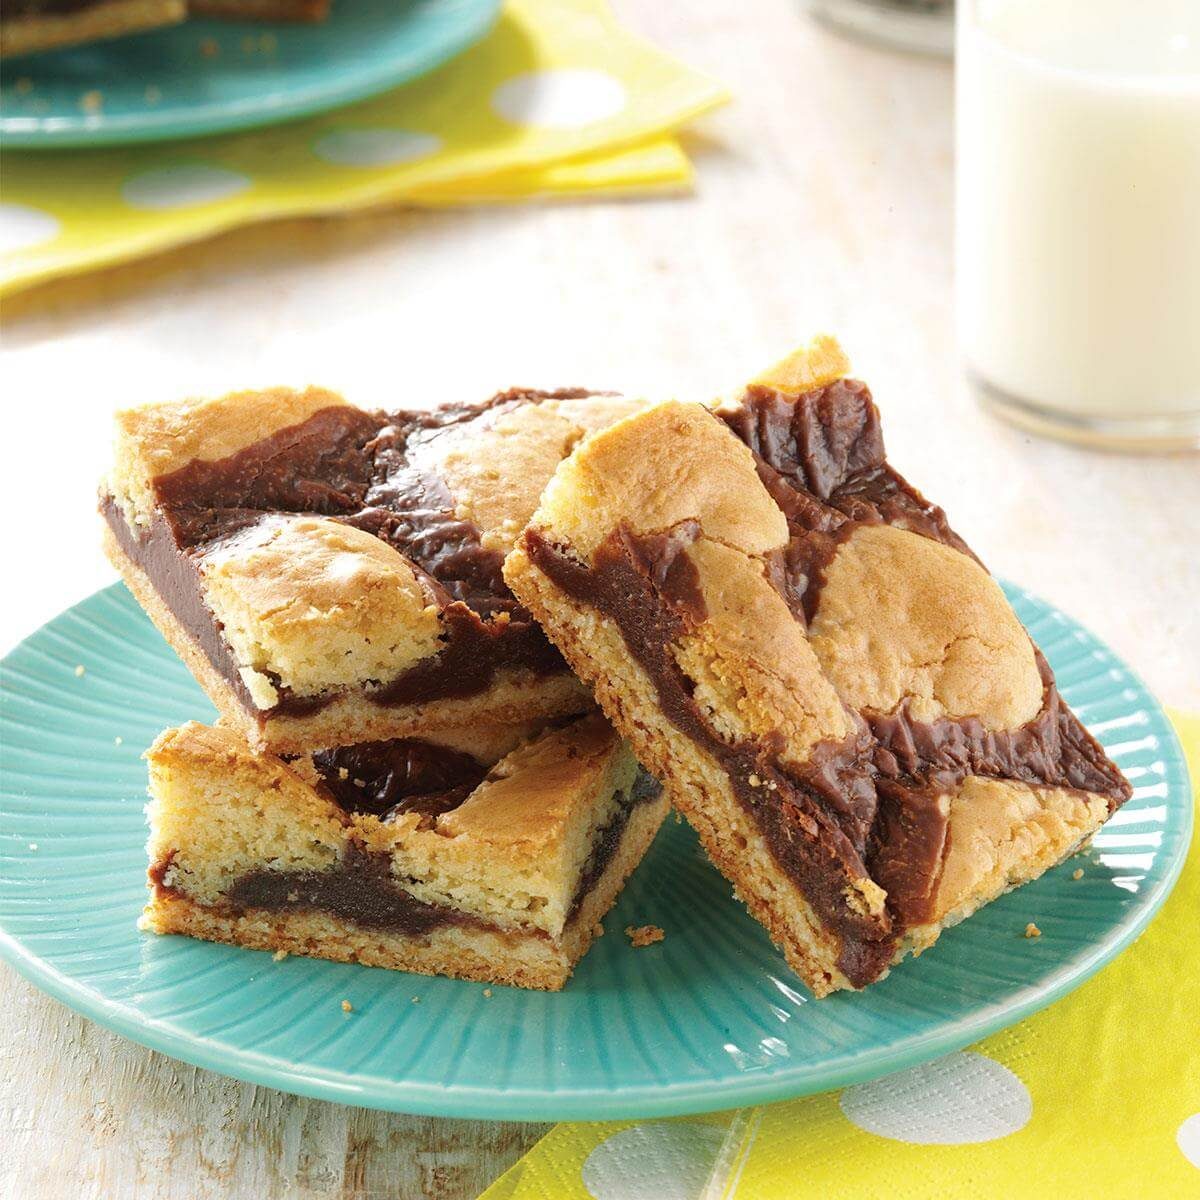
Cant leave alone bars –Sometimes, you just come across a dessert that you can’t resist. These “Can’t Leave Alone Bars” are exactly that kind of treat—a perfect mix of flavors that will keep you coming back for seconds. This recipe will surely become a family favorite in your household! Let’s dive into how to create these delightful bars.
Can’t Leave Alone Bars
When you take a bite of these bars, you’ll understand why they have that name. Each layer complements the others, and the balance of sweet and slightly salty is to die for. Get ready to indulge!
Ingredients
- 1 cup unsalted butter, softened
- 1 cup granulated sugar
- 1 cup packed brown sugar
- 2 large eggs
- 1 teaspoon vanilla extract
- 2 cups all-purpose flour
- 1 cup rolled oats
- 1 teaspoon baking soda
- 1 teaspoon salt
- 1 cup semi-sweet chocolate chips
- 1 cup chopped nuts (optional)
Instructions
- Preheat your oven to 350°F (175°C) and grease a 9×13 inch baking pan.
- In a large mixing bowl, cream together the softened butter, granulated sugar, and brown sugar until the mixture is light and fluffy.
- Add in the eggs, one at a time, mixing well after each addition, then stir in the vanilla extract.
- In a separate bowl, combine the flour, rolled oats, baking soda, and salt. Gradually add this dry mixture to the wet ingredients, stirring just until combined.
- Fold in the chocolate chips and nuts (if using) until evenly distributed throughout the batter.
- Spread the batter evenly in the prepared baking pan. Bake for 25-30 minutes, or until the top is golden brown and a toothpick inserted into the center comes out clean.
- Once baked, allow the bars to cool in the pan for about 10 minutes, then transfer them to a wire rack to cool completely before cutting them into squares.
These Can’t Leave Alone Bars are perfect for gatherings, potlucks, or simply enjoying at home with a cup of coffee. Each piece is loaded with flavor and texture, making them an addictive snack that you just can’t pass up. Trust me; once you’ve tasted them, you’ll understand why they’re named just that! Enjoy your baking!