Galliano twist –Are you looking for some inspiration for your next natural hairstyle? Look no further! Today, we’re diving into the world of protective hairstyles, with a focus on natural hair twists. These lovely twists not only look stunning but also serve as a fantastic way to protect your hair from damage and promote healthy growth. Let’s explore how you can master this beautiful style!
Natural Hair Twists
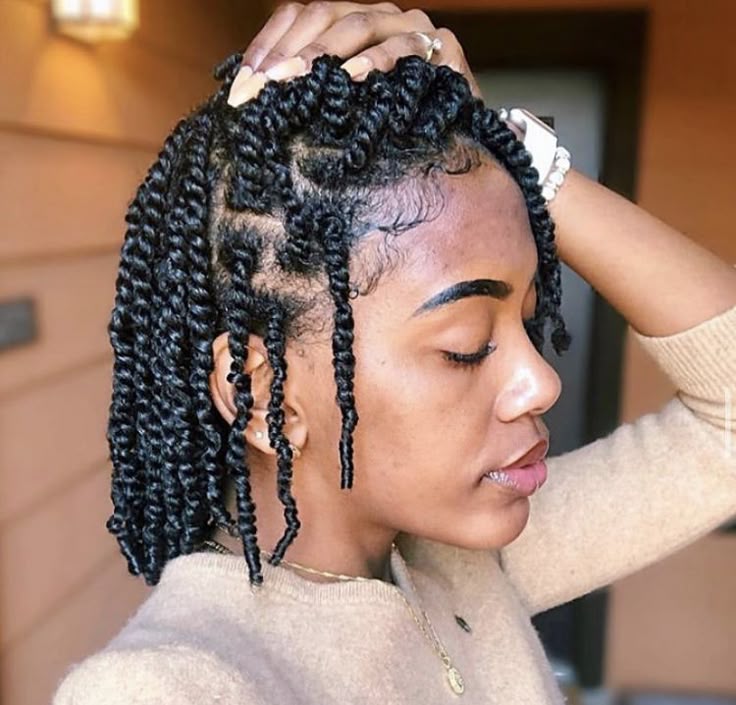
Natural hair twists are versatile and easy to maintain. Whether you’re preparing for a special occasion or just want to switch up your look, this hairstyle can do it all. You can wear your twists in various sizes, from chunky to micro, depending on the effect you desire. Below, we’ve featured a gorgeous example to spark your creativity!
Ingredients for Fabulous Twists
To achieve luscious and well-defined twists, you’ll need to gather a few essential ingredients for your hair care routine:
- Moisturizing shampoo
- Deep conditioner
- Leave-in conditioner
- Hair oil (coconut oil or olive oil work well)
- Styling cream or gel
- Sectioning clips
- A wide-tooth comb
- Hair scrunchies or bands
Instructions for Creating Beautiful Twists
Now that you have your ingredients ready, follow these steps to create stunning twists that will turn heads!
- Preparation: Start by thoroughly cleansing your hair with a moisturizing shampoo to remove any product buildup. Follow with a deep conditioning treatment to ensure your hair is well-nourished.
- Moisturize: Once your hair is clean, apply a generous amount of leave-in conditioner to damp hair. This will help lock in moisture and prepare your hair for styling.
- Section Your Hair: Use sectioning clips to divide your hair into manageable parts, typically about 1-inch sections. This will make twisting easier and more organized.
- Twist Away: Take one section of hair, apply a small amount of styling cream or gel, and start twisting! For a rope twist, separate the section into two strands and twist them around each other. For a two-strand twist, separate the section into two parts and twist them together. Keep the twists tight but not too tight to prevent tension on your scalp.
- Repeat: Continue this process for your entire head until all sections are twisted.
- Set Your Style: If desired, you can leave your twists to dry naturally or use a hooded dryer for quicker drying. Once dry, apply a little hair oil to your fingertips and separate the twists for added volume and definition.
And there you have it! With these simple steps and the right products, you can create stunning natural hair twists. Enjoy your beautiful and protective hairstyle while keeping your hair healthy and nourished! Happy twisting!