Green beans –Home canning is a rewarding skill that not only helps preserve the bounty of your garden but also ensures you have nutritious meals ready at your convenience. If you’re looking to try your hand at canning, this recipe for home-canned green beans is a perfect starting point. Follow these simple steps to enjoy these green beans year-round.
Home Canned Green Beans
This method of canning green beans is both straightforward and efficient. The following ingredients and instructions will guide you through the process.
Ingredients
- Fresh green beans (about 2-3 pounds)
- 1 teaspoon canning salt per jar (optional)
- Water (enough to fill jars)
- Lemon juice or citric acid (for acidification, if using a water bath canner)
Instructions
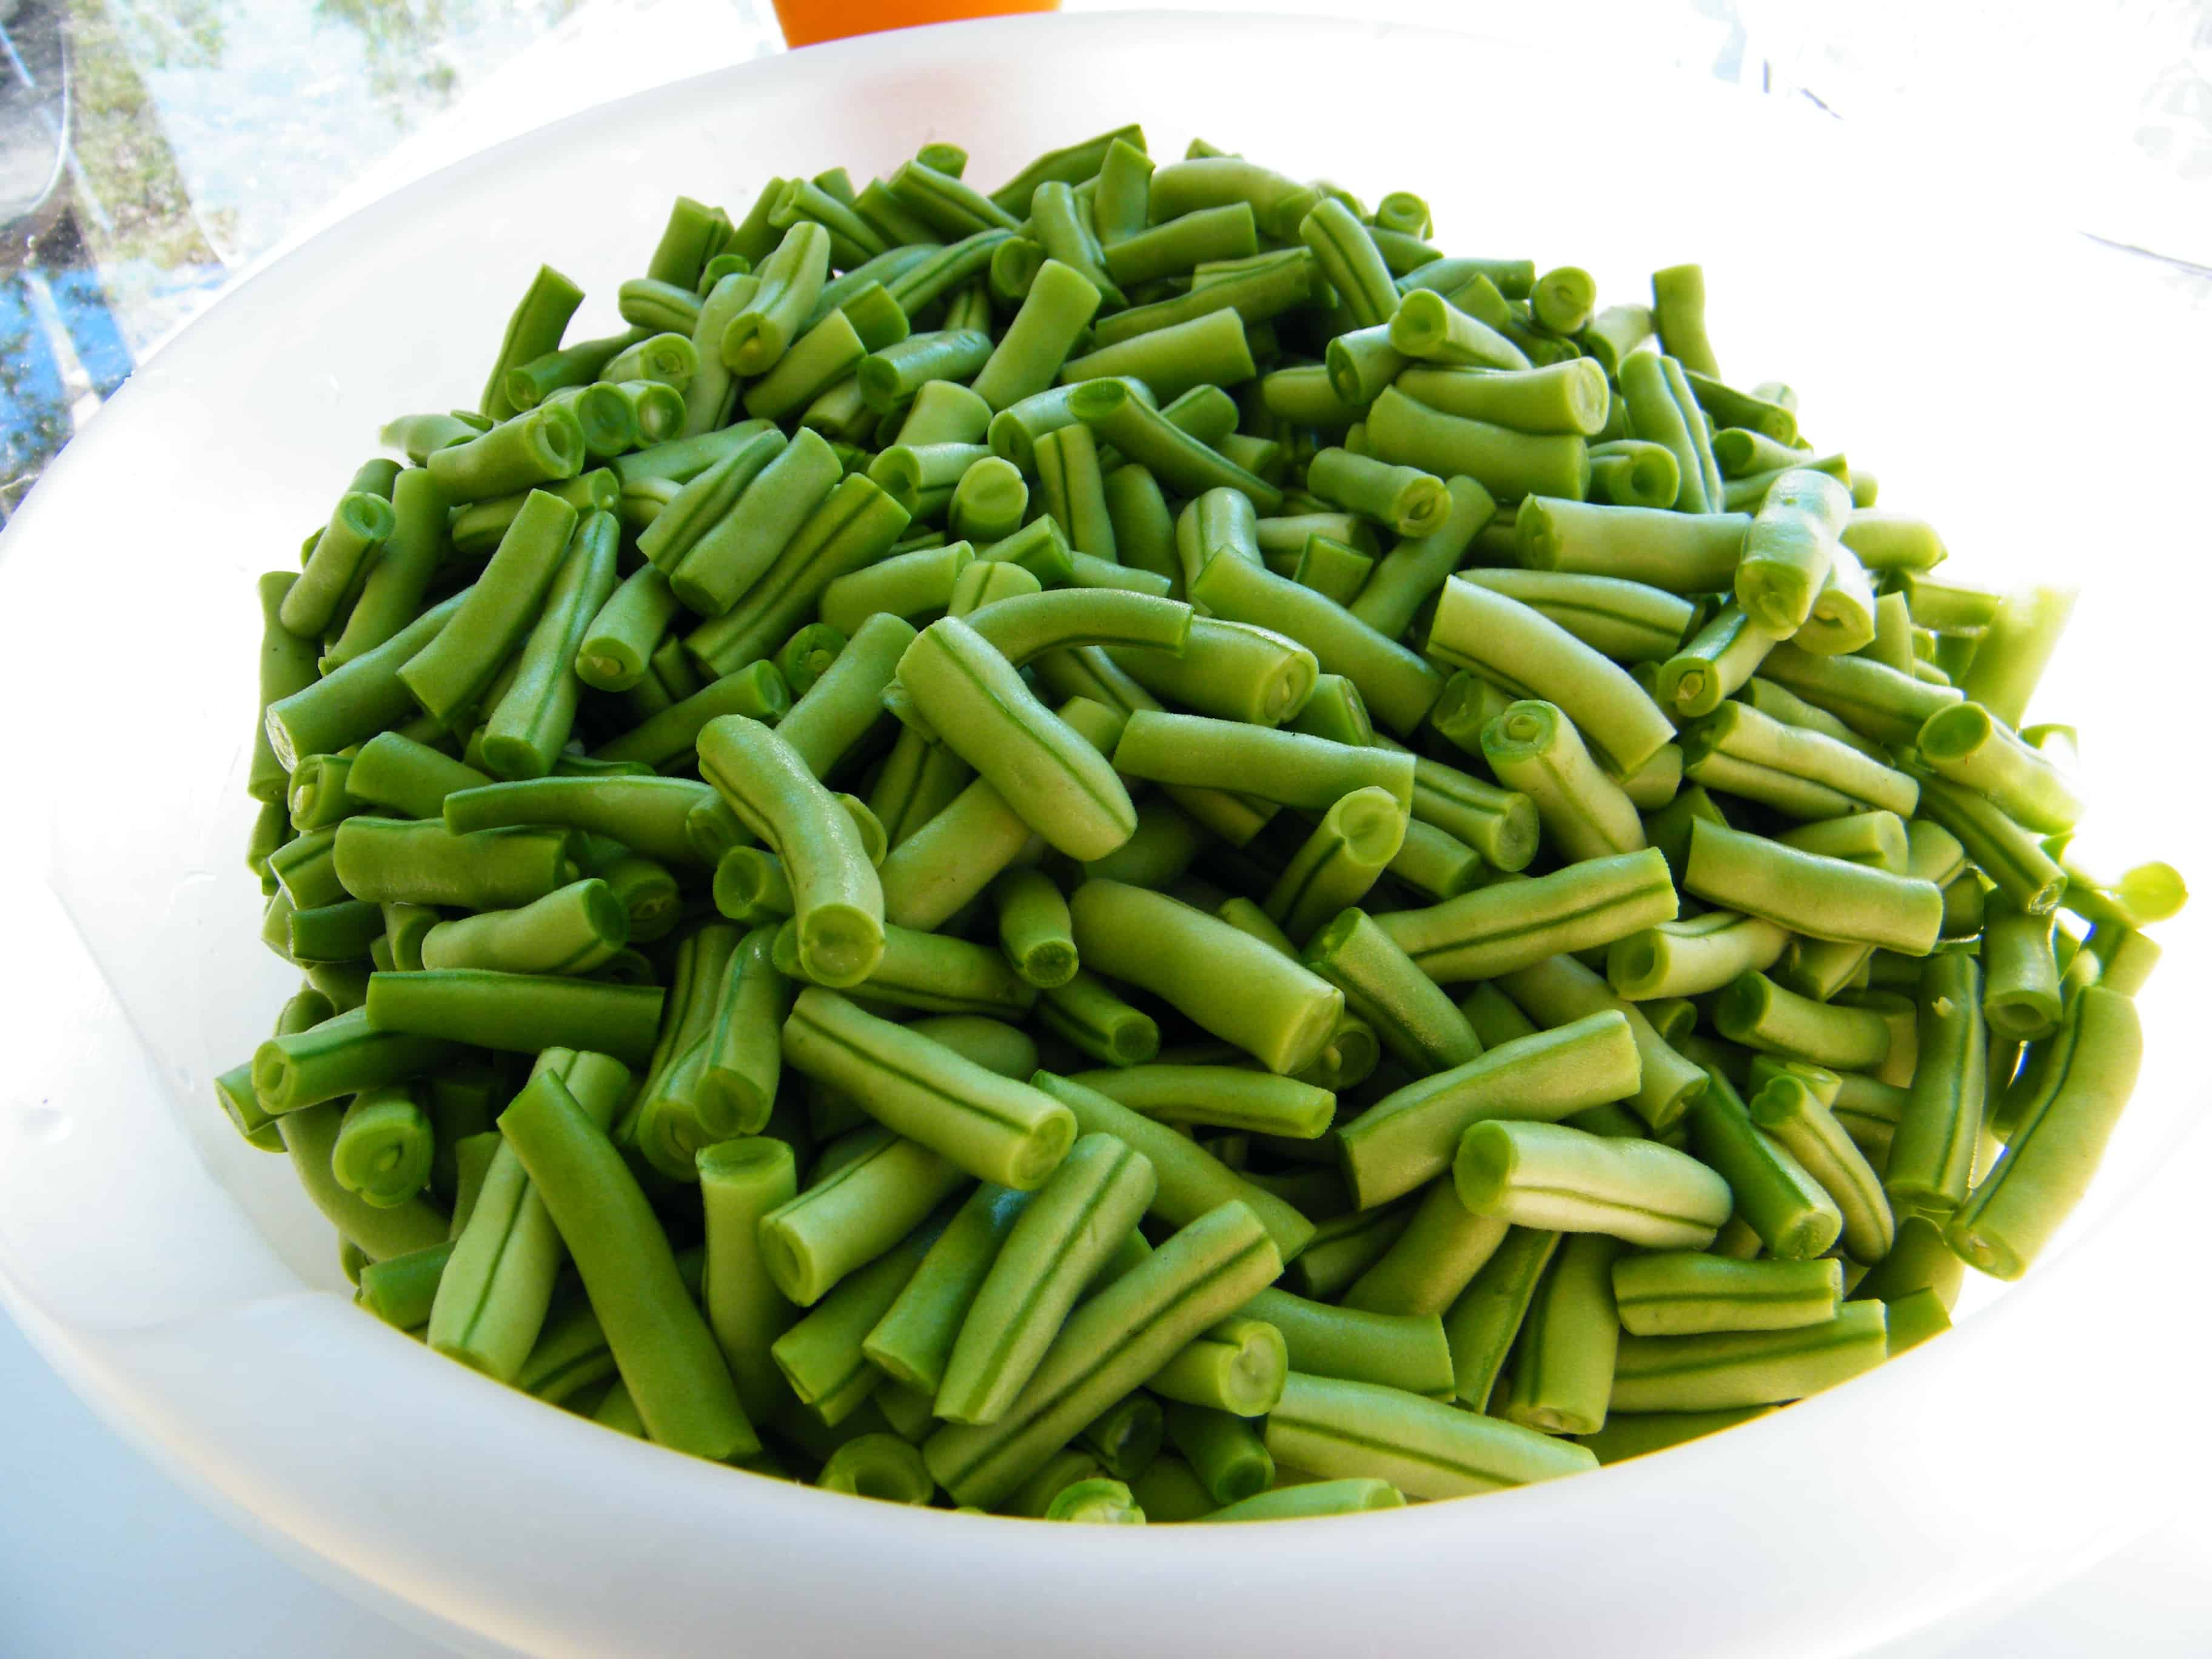
- Begin by washing your green beans thoroughly. Trim the ends and cut them into desired lengths, usually around 1 to 2 inches.
- Prepare your canning jars and lids. Sterilize the jars in boiling water or a hot dishwasher to ensure they are clean and free of contaminants.
- While your jars are sterilizing, fill a large pot with water and bring it to a boil. This will be used to blanch the green beans.
- Once the water is boiling, add the cut green beans and blanch them for about 3 to 4 minutes. This step helps preserve color and texture.
- After blanching, immediately transfer the green beans to an ice water bath to stop the cooking process.
- In each sterilized jar, pack the green beans tightly but do not compress them. Leave about 1 inch of headspace at the top of the jar.
- If you are using canning salt, add 1 teaspoon per jar at this point. Then, pour hot water over the beans, ensuring they are fully submerged while maintaining the 1-inch headspace.
- If you are using lemon juice or citric acid, add about 1 tablespoon of lemon juice or 1/4 teaspoon of citric acid per quart jar before sealing.
- Wipe the rims of the jars with a clean cloth to remove any residue that might prevent proper sealing.
- Place the lids on the jars, and screw on the bands until they are fingertip-tight.
- Process the jars in a pressure canner or a boiling water bath canner according to the manufacturer’s directions. For green beans, boiling water bath processing typically lasts for approximately 20 minutes.
- Once the processing time is up, carefully remove the jars from the canner and allow them to cool completely on a clean towel or wire rack. You should hear a popping sound as the jars seal.
- After 24 hours, check the seals by pressing down in the center of each lid. If it rises back up, it is not sealed and should be refrigerated or reprocessed.
- Store sealed jars in a cool, dark place. Properly sealed jars of home-canned green beans can last for up to a year.
Now that you’ve mastered the art of canning green beans, you can enjoy their freshness and flavor long after the harvest season ends. Happy canning!