Pear preserves cake –Hey there, fellow dessert enthusiasts! Are you ready to embark on a delicious journey of flavor with a cake that makes your taste buds sing? Today, we’re diving into a scrumptious treat: the Pear Preserves Cake! This delightful creation is not only easy to make but also garners high praise from anyone lucky enough to get a slice. So, grab your apron and let’s get started!
Little Corner of Mine: Pear Preserves Cake
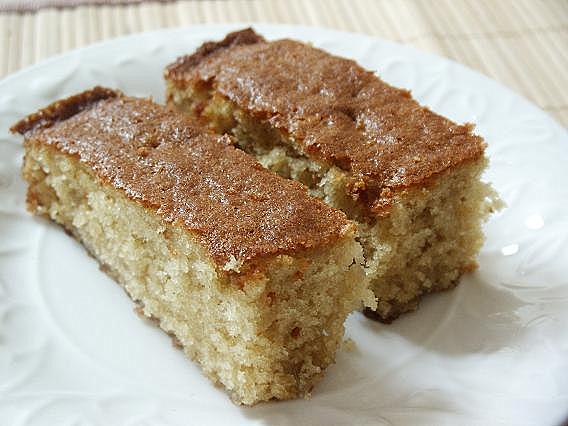
Before we whip up this delectable cake, let’s take a moment to feast our eyes on what we’re about to bake. Behold the beauty!
Ingredients for the Pear Preserves Cake
To bring this masterpiece to life, gather the following ingredients:
- 1 ½ cups all-purpose flour
- 1 cup granulated sugar
- ½ cup unsalted butter, softened
- 3 large eggs
- 1 cup pear preserves (the star of our show!)
- 1 teaspoon baking powder
- ½ teaspoon baking soda
- ½ teaspoon salt
- 1 teaspoon vanilla extract
- ½ cup chopped nuts (optional, but recommended for some crunch!)
Instructions to Create Your Cake Masterpiece
Now, let’s put on our chef hats and get to the fun part: baking!
- Preheat your oven to 350°F (175°C). It’s time to get those good vibes baking!
- In a large mixing bowl, cream together the softened butter and sugar until it’s light and fluffy. You know, like your favorite pillow!
- Add in the eggs one at a time, mixing well after each addition. Don’t be shy; give it a good stir.
- Now, mix in the pear preserves and vanilla extract. Prepare to be transported to a world of fruity goodness!
- In another bowl, whisk together the flour, baking powder, baking soda, and salt. This is the foundation of our cake; it’s the rock star of ingredients!
- Gradually add the dry ingredients into the wet mixture. Stir until just combined; overmixing is a no-no!
- If you’re feeling nutty, fold in the chopped nuts for that extra layer of deliciousness.
- Pour the batter into a greased cake pan and pop it into the preheated oven. Bake for approximately 30-35 minutes, or until a toothpick inserted in the center comes out clean.
- Once baked, allow your masterpiece to cool before removing it from the pan and serving it up!
Voilà! You’ve created a Pear Preserves Cake that’s not just tasty but also a feast for the eyes. Perfect for any occasion or just a splendid afternoon treat. Enjoy every crumb!